Team Management
Invite staff members, assign roles, and manage who has access to your OKeep CRM.
Opening Team Management
- Go to Settings in the CRM sidebar
- Click Team Management
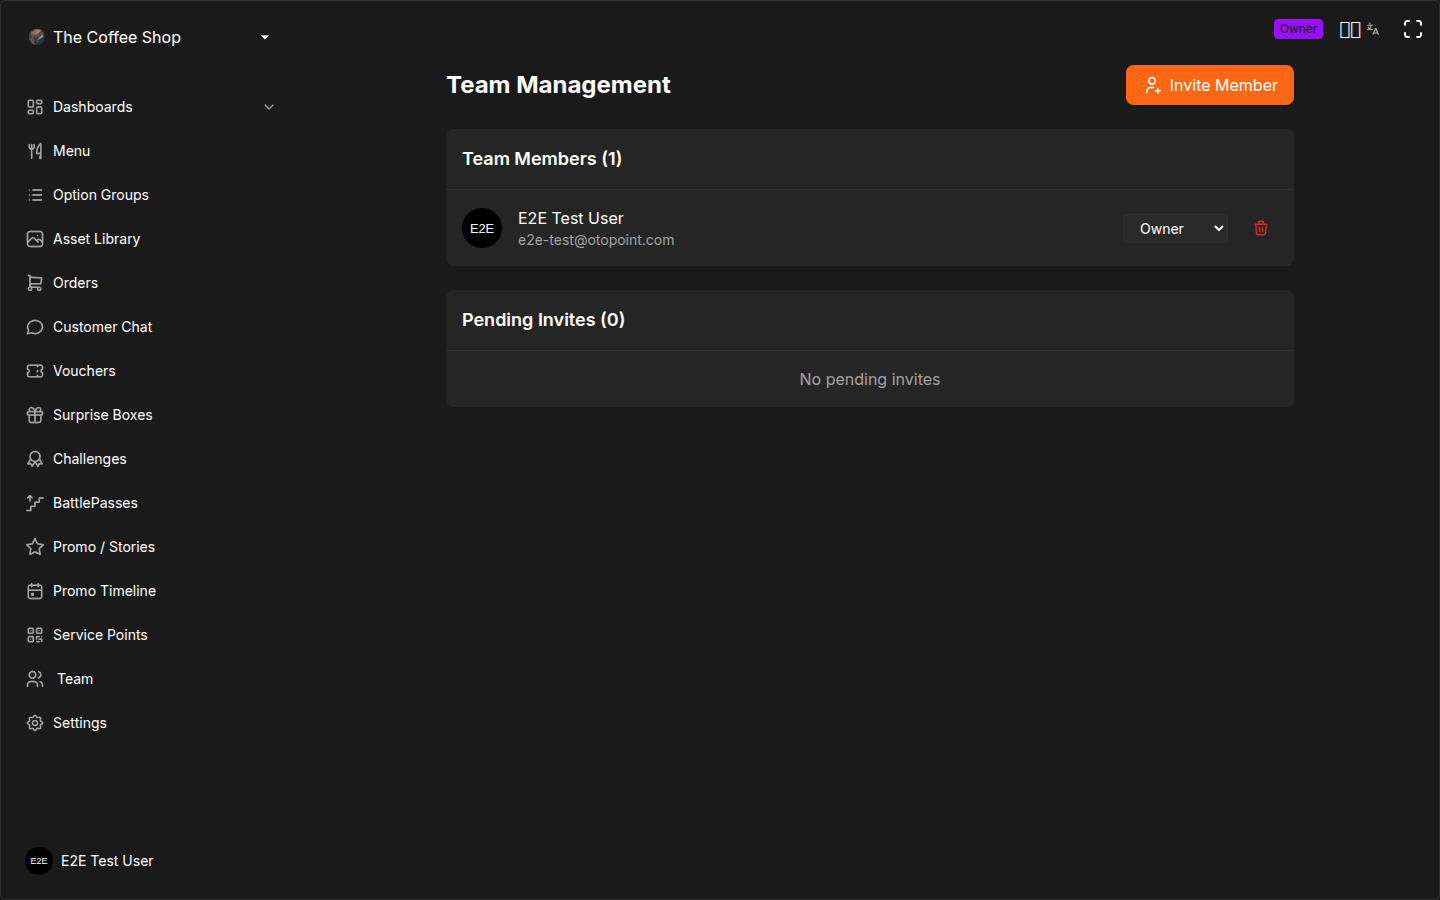
Members List
The main view shows all current team members with the following information:
| Column | Description |
|---|---|
| Avatar | Profile picture or initials |
| Name | Team member's display name |
| Email address used to log in | |
| Role | Current role (changeable via dropdown if you have permission) |
| Actions | Delete button to remove the member |
Changing a Member's Role
- Find the team member in the list
- Click the Role dropdown next to their name
- Select the new role
- The change takes effect immediately
You cannot change your own role. Another team member with sufficient permissions must change it for you.
Removing a Member
- Find the team member in the list
- Click the Delete button
- Confirm the removal
The removed member will lose access to the CRM immediately.
Roles and Permissions
OKeep uses a hierarchy-based role system. Each role has a specific set of permissions that control what the person can see and do in the CRM.
Role Overview
| Role | Description | Key Permissions |
|---|---|---|
| Owner | Full control of the business | All features, settings, billing, team management |
| Manager | Day-to-day operations management | Orders, menu, vouchers, team invites, reports |
| Waiter | Front-of-house service | View and manage orders, award points, customer interactions |
| Kitchen | Kitchen preparation | Kitchen display only — see and manage incoming orders |
Detailed Permission Matrix
| Feature | Owner | Manager | Waiter | Kitchen |
|---|---|---|---|---|
| View orders | Yes | Yes | Yes | Yes (kitchen display only) |
| Mark orders in progress / ready | Yes | Yes | Yes | Yes |
| Mark orders as delivered | Yes | Yes | Yes | No |
| Cancel / refund orders | Yes | Yes | No | No |
| View and edit menu | Yes | Yes | No | No |
| Create / edit categories | Yes | Yes | No | No |
| Create / edit option groups | Yes | Yes | No | No |
| Manage service points (printers) | Yes | Yes | No | No |
| Print / manage QR codes | Yes | Yes | No | No |
| View waiter dashboard | Yes | Yes | Yes | No |
| View kitchen display | Yes | Yes | No | Yes |
| Award points to customers | Yes | Yes | Yes | No |
| Create / edit vouchers | Yes | Yes | No | No |
| Create / edit challenges | Yes | Yes | No | No |
| Create / edit battle passes | Yes | Yes | No | No |
| Create / edit surprise boxes | Yes | Yes | No | No |
| Marketing (promo stories) | Yes | Yes | No | No |
| Merchant settings | Yes | No | No | No |
| Working hours, delivery modes | Yes | No | No | No |
| Points configuration | Yes | No | No | No |
| Invite / remove team members | Yes | Yes | No | No |
| Change member roles | Yes | Yes (at or below their level) | No | No |
| Billing and subscription | Yes | No | No | No |
Role Hierarchy
Roles follow a strict hierarchy: Owner > Manager > Waiter / Kitchen.
- You can only assign roles at your level or below
- You cannot change the role of someone above you in the hierarchy
- Only Owners and Managers can invite new team members
- A Manager cannot promote someone to Owner or change an Owner's role
Choosing the Right Role
| If the person... | Assign |
|---|---|
| Owns the business or needs full admin access | Owner |
| Manages daily operations, edits menu, configures loyalty | Manager |
| Serves customers, takes orders, delivers food | Waiter |
| Works only in the kitchen, prepares orders | Kitchen |
Assign the most restrictive role that still lets each team member do their job. A barista who needs to see orders and award points is a Waiter. A cook who only needs to see what to prepare is Kitchen. Neither needs Manager access.
Inviting New Members
Sending an Invite
- Click the Invite Member button at the top of the page
- Enter the person's email address
- Select the role to assign
- Click Send Invite
An invite is generated with a unique link and QR code. The invite details appear in the Pending Invites section below the members list.
Pending Invites
All invites that have not yet been accepted are shown in the pending section. Each pending invite displays:
| Field | Description |
|---|---|
| Email address the invite was sent to | |
| Expiration | Date when the invite link expires |
| Role | Role badge showing the assigned role |
| QR Code | Button to open the QR code modal |
| Copy Link | Button to copy the invite link to clipboard |
| Cancel | Button to cancel the invite |
Sharing the Invite
You have several ways to share an invite with your new team member:
Copy the invite link:
- Find the pending invite
- Click the Copy Link button
- Send the copied link via email, messaging app, or however you prefer
Share the QR code:
- Find the pending invite
- Click the QR Code button to open the QR code modal
- The recipient can scan the QR code with their phone camera
- Or click Download as PNG to save and send the image
QR Code Modal
The QR code modal provides a scannable code for the invite:
- QR code displayed at 256 x 256 pixels
- Customizable foreground color and background color for the QR code
- Download as PNG button to save the QR code image to your device
Color customization is useful if you want the QR code to match your branding when printing it out or sharing it digitally.
Cancelling an Invite
If you need to revoke an invite before it is accepted:
- Find the pending invite in the list
- Click the Cancel Invite button
- The invite link and QR code will stop working immediately
Invite Acceptance Flow
When a team member receives an invite link or scans the QR code, they go through the following process:
- Open the link -- the invite details page shows the business name, their assigned role, and who invited them
- Log in -- if not already logged in, they see the invite details and a Login to Accept button
- Authenticate -- clicking the button takes them to the login page (via Auth0)
- Auto-claim -- after successful login, the invite is automatically claimed and linked to their account
- Redirect -- they are redirected to the CRM dashboard with their assigned role active
If the invited person does not have an OKeep account yet, they will create one during the login step. The invite is claimed automatically after account creation.
What If an Invite Expires?
If a team member does not accept the invite before the expiration date:
- The invite link and QR code stop working
- The invite disappears from the pending list
- You need to send a new invite
Best Practices
- Use the right role for each person -- waiters do not need manager access, and cashiers do not need menu editing permissions
- Review your team list regularly -- remove members who no longer work with you to keep your account secure
- Use QR codes for in-person onboarding -- when training new staff on-site, the QR code is the fastest way to get them set up
- Do not share invite links publicly -- each invite grants access to your business data; share only with intended recipients
- Cancel unused invites -- if someone was invited but will not be joining, cancel their invite promptly
Frequently Asked Questions
Can I change someone's role after they have joined? Yes. Find the team member in the Members List, click the Role dropdown next to their name, and select the new role. The change takes effect immediately — their access updates the next time they load the CRM. You can only assign roles at your level or below (a Manager cannot promote someone to Owner).
How do I remove a team member? Find them in the Members List and click the Delete button. Confirm the removal. They lose CRM access immediately. Their past actions (orders processed, points awarded) remain in the system history, but they can no longer log in or perform any actions.
Can I have multiple Owners? Yes. You can invite additional people as Owners. Every Owner has full, identical access to all features, settings, and billing. Use this for business partners or co-owners who all need unrestricted access. Be aware that any Owner can change the roles of other Owners.
What does the invited person see when they accept? They receive a link or QR code. When they open it, they see a page showing your business name, who invited them, and what role they have been assigned. If they already have an OKeep account, they click "Login to Accept" and are redirected to the CRM. If they do not have an account, they create one during the login process, and the invite is claimed automatically.
What if someone was invited with the wrong role? If the invite is still pending (not accepted), cancel it and send a new invite with the correct role. If the invite has already been accepted, change their role using the Role dropdown in the Members List.
Can a Waiter or Kitchen user see other team members? No. The Team Management page is only accessible to Owners and Managers. Waiters and Kitchen staff cannot see who else is on the team or send invites.
What happens if I cancel an invite that someone already has the link for? The link and QR code stop working immediately. If they try to use it, they will see an error message. You will need to send a new invite if you want them to join.
Can team members work across multiple locations? If you have multiple locations under the same merchant account, team members have access to all locations based on their role. There is no per-location role restriction — a Waiter role grants waiter access across all your locations.
Related Pages
- Adding Staff -- quick start guide for inviting your first team members
- Merchant Settings -- configure your business profile and general settings