Kitchen Display
The Kitchen Display is a real-time, card-based view designed for food preparation staff. It shows active orders as large, easy-to-read cards with one-tap action buttons, making it ideal for mounting on a screen in the kitchen or at the counter.
In OKeep, the Kitchen Display is built on the Dashboard system -- a fully configurable, widget-based layout that you can tailor to your venue's workflow.
Accessing the Kitchen Display
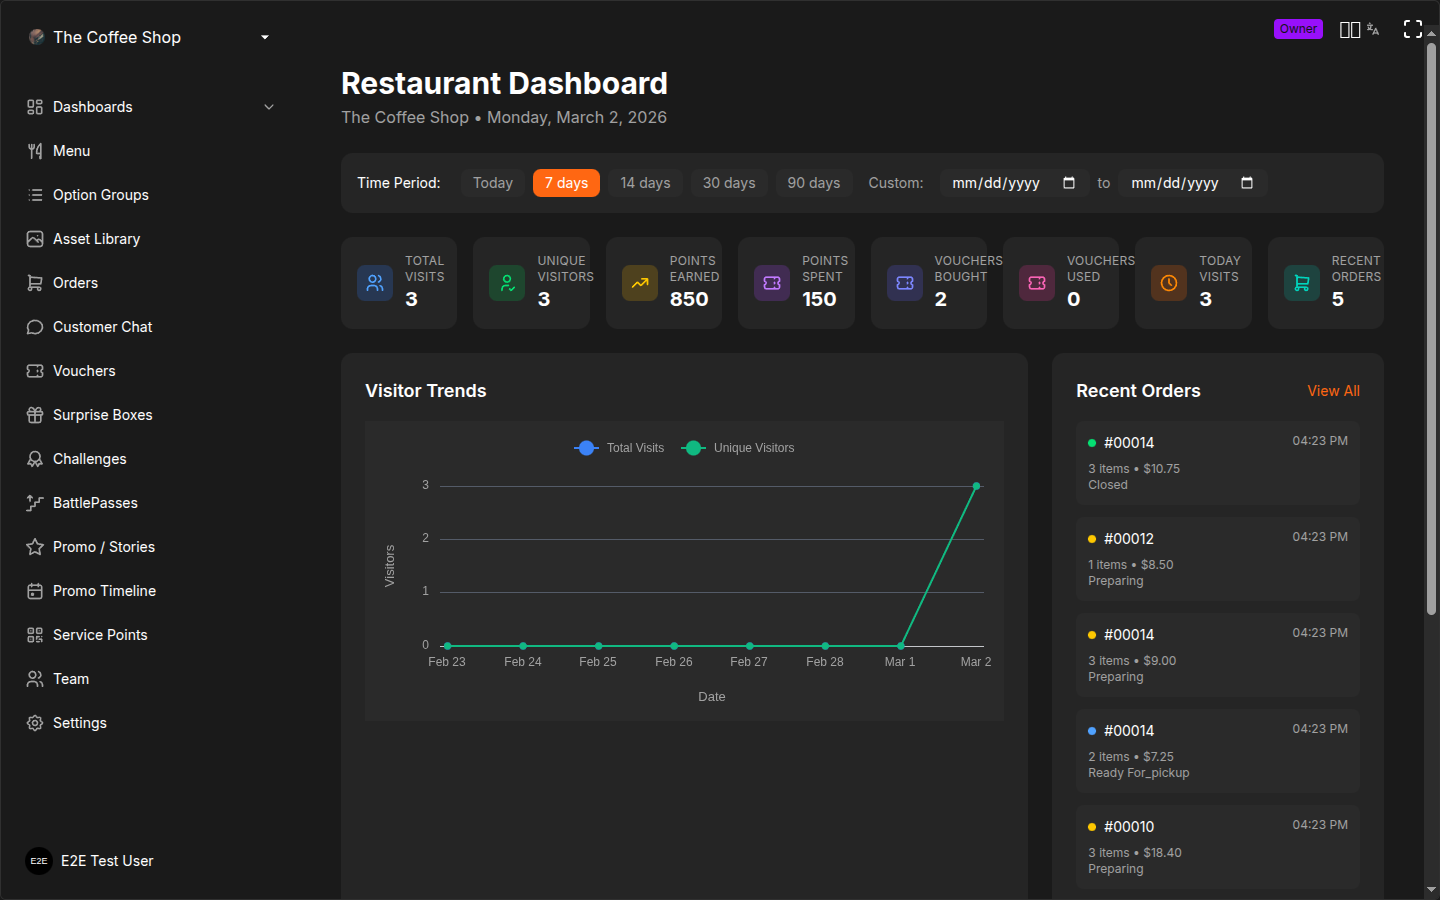
- Log in to the CRM
- Click Dashboards in the sidebar
- Select an existing dashboard, or create a new one
If you have not created any dashboards yet, see Creating a Dashboard below.
Dashboard Layout
Each dashboard is composed of tabs and widgets. You can think of it like a customizable control panel:
- Tabs let you organize different views (e.g., "Kitchen", "Bar", "Pickup") that you switch between
- Widgets are the building blocks placed inside each tab
Available Widget Types
| Widget | Description |
|---|---|
| Orders Grid | The main widget -- displays order cards in a responsive grid. You can filter which orders appear (by status, delivery mode, service point, etc.) |
| Service Point Filter | Lets you filter orders by service point (printer). Shows which service points have active customers |
| Order Creation | A panel for creating orders on behalf of customers (walk-ins, phone orders) |
| Statistics | Shows real-time order counts broken down by status |
| User Info | Displays information about a connected customer |
| User List | Shows customers currently connected to your service points |
You can place multiple widgets in the same tab and arrange them however you like by dragging and resizing.
Order Cards
The Orders Grid widget displays orders as cards. Each card shows:
- Order number (short ID) -- large and easy to read
- Time elapsed since the order was placed
- Estimated time remaining (if a preparation time was set), with color coding:
- Green when on track
- Yellow when urgent (2 minutes or less remaining)
- Red when overdue
- Service point name
- Delivery mode -- Pickup or To Table
- Customer type -- individual or group (with participant count)
- Order total
- Full item list with names, quantities, and selected options/extras
Priority and Urgency Indicators
Orders that are running late get special treatment:
- Urgent orders (2 minutes or less remaining on the estimate) show a yellow warning icon and a yellow border
- Overdue orders (past the estimated time) show a red warning icon and a red border
- Priority orders are sorted to the top of the grid so they are always visible
Card Appearance Settings
When configuring an Orders Grid widget, you can control what information appears on each card through card layout settings:
- Card size -- compact, normal, or large
- Header slots -- choose what appears in the header area (order ID, timer, service point name, etc.)
- Badge slots -- delivery mode, payment status, and other indicators
- Item display -- control how much detail items show:
- None (hide items entirely)
- Compact (name and quantity only)
- Normal (name, quantity, and option labels)
- Detailed (name, quantity, options with price deltas, and per-item price)
- Options display style -- plain text or visual pills
- SLA minutes -- the threshold for highlighting overdue orders
- Warning always on top -- keep flagged orders at the top of the grid
Status Action Buttons
Each order card has prominent action buttons that let staff advance the order with a single tap:
For Preparing Orders
- Ready for Pickup -- a large green button that marks the order as ready
For Ready for Pickup Orders
- Deliver Order -- a large primary-color button that closes the order
- Return to Cooking -- a smaller button that moves the order back to Preparing (useful if an item needs to be redone)
If you try to close an order that has not been marked as Paid, a confirmation dialog appears. You can still proceed, but this helps prevent accidentally completing orders before payment is collected.
Per-Item Workflow (Station Mode)
For kitchens with multiple preparation stations, the Orders Grid supports a per-item workflow. When enabled:
- Individual items within an order can be marked as ready independently
- Staff at each station mark their items as complete
- The order card shows progress as items are completed
- You can also mark all items as ready at once with a bulk action
This is configured when creating a dashboard by choosing the Processing zone type with per-item close mode.
Service Point Filtering
The Service Point Filter widget shows all of your service points with their active user count. Click a service point to filter the Orders Grid to show only orders from that point.
This is useful when you have multiple areas (e.g., indoor, outdoor, bar) and want to focus on one section at a time.
Creating a Dashboard
- Go to Dashboards in the sidebar
- Click Create New Dashboard
- The setup wizard walks you through configuration:
Zone Types
The wizard uses a "zone" concept to help you build tabs. Each zone becomes a tab in your dashboard:
| Zone Type | Purpose | Default behavior |
|---|---|---|
| Processing | Kitchen, bar, or any station that prepares items | Shows Preparing orders, supports per-item workflow, auto-hides when all items are ready |
| Pickup | Ready orders waiting for customer collection | Shows Ready for Pickup orders, pickup-only, paid-only |
| Reception | Overview of incoming orders | Shows Preparing orders in a bulk view |
You can add multiple zones -- for example, a "Kitchen" processing zone and a "Bar" processing zone, each filtering by different menu categories.
Configuration Options
During setup, you can configure:
- Dashboard name -- a descriptive name (e.g., "Main Kitchen", "Bar Counter")
- Zones/tabs -- which zone types to include and their names
- Category filtering -- assign menu categories to specific zones so each station only sees relevant items
- Item close mode -- per-item (mark individual items as ready) or bulk (mark the whole order at once)
- SLA time -- how many minutes before an order is flagged as overdue
- Order creation -- whether to include the order creation widget
Dashboard Presets
If you prefer a quick start, common setups are available:
- Kitchen -- processing station with per-item workflow
- Bar -- processing station for drink preparation
- Pickup -- pickup counter showing ready orders
- Waiter -- full view with order creation for table service
- Full -- everything visible in one view
Customizing the Layout
After creating a dashboard, you can further customize it:
Unlocking the Layout
Click the lock icon in the top-right corner to toggle between locked and unlocked mode:
- Locked -- widgets are fixed in place (use this during service)
- Unlocked -- widgets can be dragged, resized, and rearranged
Adding Widgets
- Unlock the layout
- Click Add Widget (or press Ctrl+K)
- Choose a widget type from the catalog
- The widget appears in the tab -- drag it to the desired position and resize as needed
Widget Settings
Each widget has its own settings. Click the gear icon on a widget to open its settings panel. For the Orders Grid, settings include:
- Filter by order status, delivery mode, or payment status
- Filter by specific service points
- Card size and layout slots
- SLA time for overdue highlighting
- Item display detail level
- Grouping and sorting options
Saving and Syncing
Dashboard layouts are saved to the server automatically. A sync indicator in the header shows the current state:
- Cloud icon (green) -- layout is synced
- Spinning icon -- saving in progress
- Cloud-off icon (red) -- sync error (your changes are preserved locally)
Sound Notifications
Sound notifications alert staff when new orders arrive, even if they are not looking at the screen.
- Click the speaker icon in the top-right corner to toggle sound on or off
- A kitchen notification sound plays when a new order comes in
- A completion sound plays when an order is marked as ready or closed
Always enable sound notifications during service hours. Combined with full-screen mode, this turns any screen into a dedicated kitchen display station.
Full-Screen Mode
Click the maximize icon in the top-right corner to enter full-screen mode. This hides the browser's address bar and tabs, giving you maximum screen space for order cards.
Press the minimize icon or the Esc key to exit full-screen mode.
Stats at a Glance
The Kitchen Display header shows real-time counters:
| Counter | Color | Meaning |
|---|---|---|
| Preparing | Yellow | Number of orders currently being prepared |
| Ready | Green | Number of orders waiting for customer pickup |
| Urgent | Red | Number of orders past or near their estimated time (only shown if any exist) |
The current date and time are also displayed in the header.
Best Practices for Kitchen Setup
- Dedicate a screen -- mount a tablet or monitor in the kitchen running only the Kitchen Display
- Use full-screen mode -- hide browser UI for maximum visibility
- Enable sound notifications -- never miss a new order even during the rush
- Set preparation time estimates -- this enables the urgency indicators that help you prioritize
- Create separate dashboards for separate stations -- if your kitchen has distinct stations (grill, fryer, drinks), create a dashboard per station with category filtering so each screen only shows relevant orders
- Lock the layout during service -- prevent accidental rearrangement by locking the layout before the shift starts
- Use large card size -- for screens viewed from a distance, switch to the large card size in widget settings
Troubleshooting
Orders not appearing?
- Check that the correct service points are selected in the Service Point Filter widget
- Verify the Orders Grid widget is not filtered to a status that excludes new orders
- Check the live connection -- the header should show the sync indicator as connected
- Click Refresh to force a reload
No sound notifications?
- Make sure sound is enabled (speaker icon should not be muted)
- Check that your browser allows audio playback -- some browsers block autoplay until you interact with the page
- Verify your device volume is turned up
Layout looks wrong after an update?
- Unlock the layout, rearrange widgets, then lock again
- If the issue persists, go to Dashboards and reconfigure the dashboard through the editor
Related Pages
- Receiving Orders -- the management-oriented orders dashboard
- Order Statuses -- understanding the full order lifecycle